


In this guide, I will show you how to install a fresh copy of Proxmox VE 8 and then deploy a new Home Assistant OS virtual machine.
If you already have a Proxmox server you can skip to part two where I begin the Home Assistant OS installation step.
There are two options for installing Home Assistant on Proxmox VE. One would be to use a LXC container and the second would use a virtual machine. Installing Home Assistant OS as a virtual machine is the recommended method because you get access to the add-on store and improved management features.
Why Use Proxmox VE?
Proxmox is a popular open-source server software for virtual machine management. Proxmox is completely free to use and a subscription is only required if you require enterprise-level updates and support.
Popular free alternatives such as VMware ESXi or XCP-NG limit their features unless you pay extra. Proxmox VE will provide you will all the features you would ever need as a home user.
Before attempting to install Proxmox VE I would suggest checking their system requirements page to ensure your hardware is capable of running Proxmox and has enough resources available to deploy VMs.
I have successfully used Proxmox on several small form factor (SFF) desktop PCs for many years with as little as 4GB memory and a 256GB SSD.
Can I run Home Assistant in a VM?
Yes, you can run Home Assistant in a virtual machine (VM) on your computer. Running Home Assistant in a VM is a popular option for many users as it allows for easier management of resources and isolation from the host system.
It's important to ensure that the virtual machine meets the minimum requirements for running Home Assistant, including adequate CPU, memory, and storage resources. Additionally, you may need to configure the network settings of the virtual machine to ensure that it can access the internet and communicate with other devices on your network.
Home Assistant - Proxmox vs. Bare Metal
If your PC or server is pretty powerful and has enough resources I would recommend installing Home Assistant on Proxmox. This will give you the flexibility of adding other VMs to your PC if needed. Proxmox can also back up the VM to a remote file server such as a NAS.
Installing Home Assistant to bare metal will be quicker if you don't already have a Proxmox server, and it will also be slightly more efficient.
A bare metal installation of Home Assistant allows you to attach dongles like Zigbee and Z-Wave directly instead of having to pass through the USB device from Proxmox to the Home Assistant virtual machine which can be difficult for beginners.
Home Assistant - Proxmox vs. Docker
When you install Home Assistant on Proxmox you will be installing the Home Assistant Operating System as a virtual machine.
When you install a Home Assistant Docker container you will be installing Home Assistant Core only.
Docker has a steeper learning curve compared to Proxmox therefore I would only recommend a Docker container for Home Assistant if you already have a Docker host setup and you don't need any of the additional features that the Home Assistant operating system offers.
Home Assistant Proxmox Container (LXC)
This method is similar to a Docker container but using the native LXC container feature in Proxmox and you still only get Home Assistant Core rather than the full operating system that includes add-ons and better management.
Requirements
Proxmox ISO - https://proxmox.com/en/downloads/category/iso-images-pve
Rufus - https://rufus.ie/
Home Assistant Proxmox Script - https://github.com/tteck/Proxmox#-select-a-proxmox-helper-
Part 1 - Install Proxmox VE
Start off by downloading a copy of the Proxmox VE ISO from here https://proxmox.com/en/downloads/category/iso-images-pve. While the ISO is downloading you can move on to the next step.
Insert an empty USB stick into your computer.
Download a copy of Rufus from https://rufus.ie/. You will be using this tool to make a bootable USB drive from the Proxmox VE ISO image. When Rufus has downloaded either install it or use the portable version. Once opened select the destination drive (your USB stick) then browse to the Proxmox ISO file and click start. After you click start you will have to click No on the dialog box asking to download a different version of GRUB. In the next dialog box select DD mode. After a couple of minutes, your bootable USB stick should be ready.
Enable Intel Virtualization Technology - Skip to the next step if already enabled.
For Intel NUCs press F2 at system startup to access the BIOS. Go to Advanced → Security → Security Features → Enable Intel Virtualization Technology and Intel VT for Directed I/O (VT-d).
For other manufacturers see the HPE guide, this Dell guide, or this Lenovo guide
Insert your USB stick into the computer that you will be installing Proxmox on and then power on the machine. During the boot-up phase open the boot menu and select to boot from the USB drive.
Agree to the EULA
Select target harddisk
Enter country, time zone, and keyboard layout
Create a root password and enter your email address
Choose a hostname and assign a static IP address
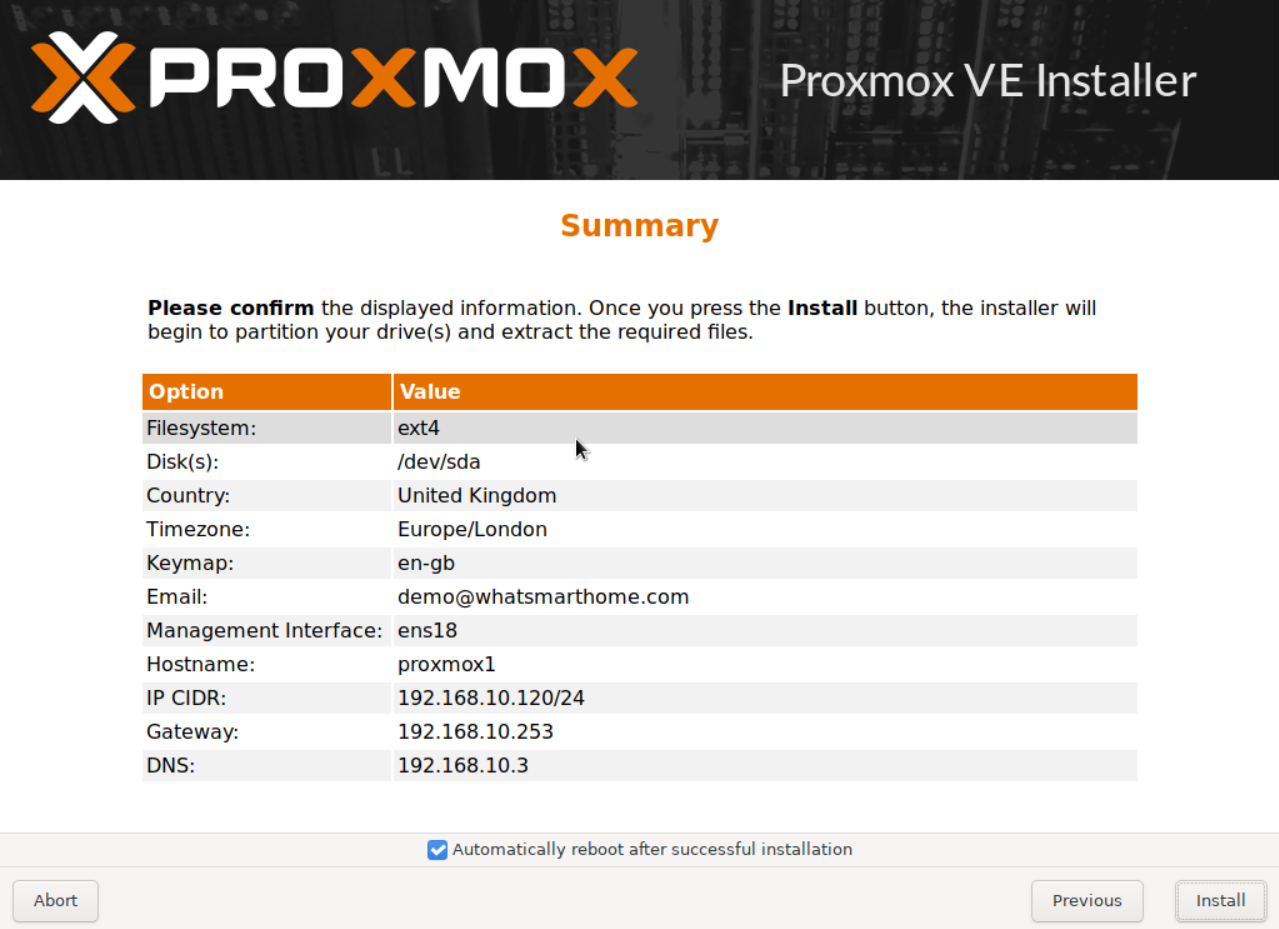
Confirm settings on the summary screen and click Install. The complete installation should take no longer than 5 minutes.
Upon first boot, your Proxmox will be available to access via the web GUI on http://chosen-ip-address:8006.
Simply log in with username root and enter the password you created during installation.
Proxmox is now installed, continue to the next section where we configure some basic settings and optimize Proxmox to ensure Home Assistant runs smoothly.
Part 2 - Configure and Optimize Proxmox
So, Proxmox is now installed but we are not quite ready to install Home Assistant OS just yet. There are some post-installation steps you will want to run to make sure your Proxmox server runs efficiently and is secure.
Proxmox Optimization
Every time you log in to Proxmox you will see a nag screen warning you that you do not have a valid subscription.
The subscription is for enterprise support and is not required at all. You can click OK but it will keep popping up upon each login which can get very annoying.
This message can be suppressed by running a script that also performs other optimization tasks.
The script we are going to use is maintained by eXtremeSHOK and hosted in this GitHub repository.
Access the Proxmox shell by selecting your PVE server and then clicking on Shell

Paste the following text into the shell screen and press enter
wget https://raw.githubusercontent.com/extremeshok/xshok-proxmox/master/install-post.sh -c -O install-post.sh && bash install-post.sh && rm install-post.shThe script will now run through and start by updating your system with the latest updates, disabling the enterprise repo, and enabling the public one. Once completed reboot your Proxmox server and log in again.
Your Proxmox VE host will now be optimized and is ready for you to proceed to part 3 where we install Home Assistant OS on a new virtual machine.
Part 3 - Install Home Assistant on Proxmox
Now that we are ready to install we are going to use a helper script made by tteck to automatically download the Proxmox Home Assistant image and create our Proxmox VM with the optimal settings.
Go back to the Proxmox shell and enter the following command then press enter
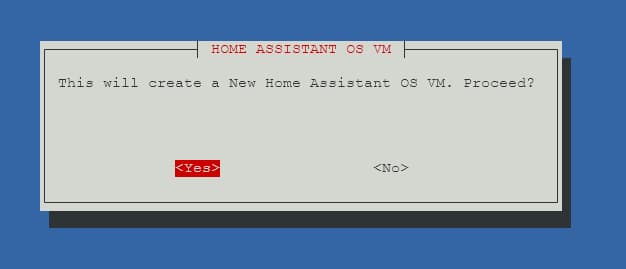
bash -c "$(wget -qLO – https://github.com/tteck/Proxmox/raw/main/vm/haos-vm.sh)"Select Yes to create a new virtual machine
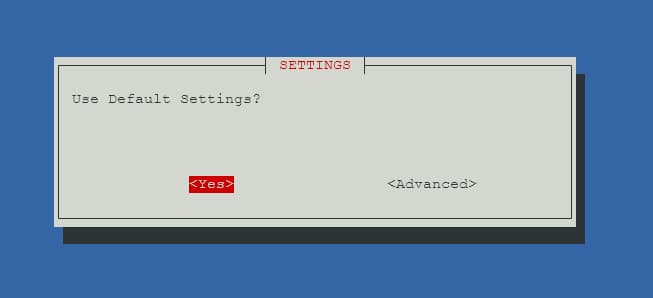
Select Yes to use the default settings
Wait for the script to download the image and create your VM, then once completed check the left window to see your new VM appear (details of the VM are displayed by the script during its creation)
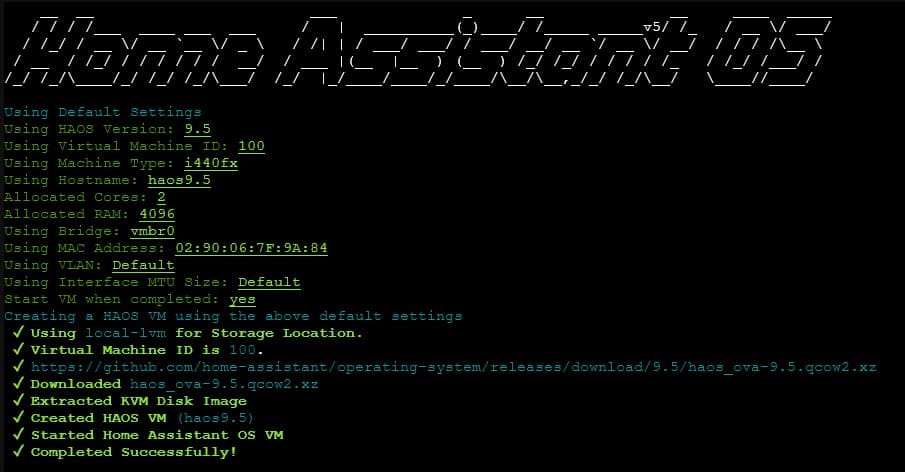 Proxmox Home Assistant install completed
You now have a Home Assistant virtual machine running on your Proxmox VE server, you could start using it right away but if you need to connect hardware to it, such as a Zigbee or Z-Wave USB adapter then check out the next session where I guide you through how to attach a USB device using USB passthrough.
Home Assistant Proxmox USB passthrough
USB passthrough on Proxmox refers to the ability to assign or 'pass through' a USB device from the Proxmox host to a virtual machine (VM) running on it.
It allows a USB device connected to the Proxmox host to be accessed directly within a VM as if it were physically attached to the VM.
There is a high chance that Home Assistant users will need to do this because they utilize technologies such as Zigbee and Z-Wave.
In the steps below I am going to attach my Aeotec Z-Stick Gen5 which will give my new Home Assistant VM the capability of talking to other Z-Wave devices through Home Assistant.
The first step is to insert your USB dongle into the Proxmox server.
Next, select your Home Assistant OS VM and click on the hardware menu

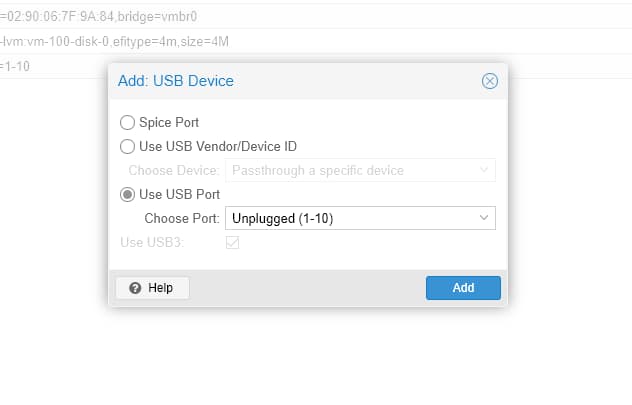
Click the Add button and choose USB Device.
On the Add USB Device screen choose Use USB Port then click the dropdown box and click on your USB device. Once selected click ok.
It's now time to connect to your new Home Assistant URL and begin setting up your devices and automation. To find the IP address of your Home Assistant VM simply navigate back to the Summary screen then you can see the IP address in the top left window
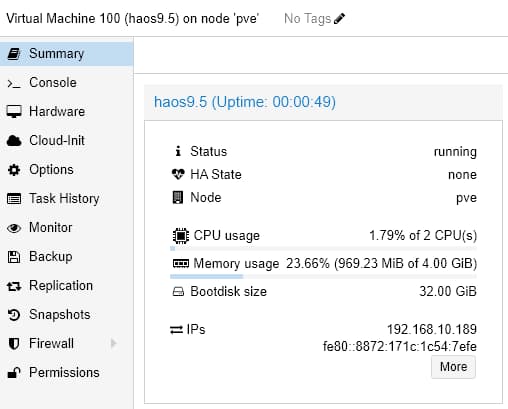
Note down your IP and then navigate to http://ip-address:8123
Monitoring Proxmox inside Home Assistant
The Home Assistant Proxmox integration allows you to monitor Proxmox instances from within Home Assistant. Once set up, you will have several binary sensors available for each VM or container configured.
To enable the integration simply open your configuration.yaml file and add the following code.
proxmoxve:
  - host: IP_ADDRESS
    username: YOUR_USERNAME
    password: YOUR_PASSWORD
    verify_ssl: false
    realm: pve
    nodes:
      - node: NODE_NAME
        vms:
          - VM_ID_1
          - VM_ID_2
Make sure to replace IP_ADDRESS with your Proxmox server's IP address and also update the username and password with your own credentials.
Replace VM_ID_1 with the ID of a VM you want to have added to Home Assistant for monitoring, if you have more than one do the same for VM_ID_2 and if you don't have more than one then just delete that line.
Important
You should be using the secrets.yaml file for storing sensitive information!
Conclusion
In this article, I discussed installing Home Assistant on Proxmox VE, which is an open-source server software for virtual machine management.
The recommended method is to install Home Assistant as a virtual machine on Proxmox VE, which provides access to the add-on store and improved management features.
I also explained the minimum requirements for running Home Assistant in a virtual machine, as well as the differences between installing it on Proxmox, bare metal, or as a Docker container.
The step-by-step instructions on installing Proxmox VE and configuring and optimizing it before installing Home Assistant are a great help to users who are not familiar with Proxmox.